If you have a die cutting
machine you will love this Kreaxions thin "Butterfly Die"! Since the Design Team featured the
"Butterfly Die" for their reveal on the first I thought I would use
the die again, but in a different way. I
used the negative piece from the die to create this card. After making my base card out of white
cardstock I covered the front with washi tape.
I then cut out two butterflies using the die and used the negative
pieces. I adhered them to the front of
the card over the washi tape and added my sentiment. This has been such a fun and versatile die to
work with ... so many ideas and so little time. Be sure to check out the Just Imagine Crafts/Kreaxions Punches Blog to see what the rest of the design team is up to this month.
Saturday, April 8, 2017
Saturday, April 1, 2017
Kreaxions Butterfly Die
Today the Design Team Card
Reveal is up on the Just Imagine Crafts/Kreaxions Punches Blog. This month the Design Team is featuring the
"Butterfly Die". I created
this "Sing His Praise" card by embossing a piece of cardstock and
adhering it to the front of the card. I
then die cut the butterfly from patterned paper and added sequins before
adhering it to the embossed piece of cardstock.
For the inside of the card I die cut 5 butterflies and glued them
together along the edges of their wings.
I then positioned the middle butterfly along the crease in the card and adhered the outside wings of the first and last butterfly to the
cardstock on the inside of the card.
What a fun die to work with!
Monday, March 20, 2017
Recycle those pop cans - flowers
I'm sharing a tutorial over at Off The Rails Scrapbooking today:
I love making my own embellishments and found that I could make some unique flowers out of pop cans. So pick your pop can(s) of choice. Mine just happen to be Pepsi cans.
Step One:
I made sure my cans were clean and dry.
Step Two:
I used a X-Acto knife to make a hole in the side of each can.
I used a pair of scissors to cut down
the side of the cans…being VERY careful not to cut myself on the sharp edges as
I went.Step Three:
I cut the top and the bottom of the cans off ... it will look like this. Discard the tops and bottoms of the cans.
Step Four:
I carefully smoothed out the middle of the pop cans and placed them on top of a Sizzix flower die that I have. I then ran it through my Cuttlebug. The Cuttlebug cut through the metal pop can like butter.
Step Five:
I then ran the die cut flowers through the Cuttlebug using
an embossing folder. * Again use extreme caution ... the sharp metal cans will draw blood ... I know from experience. After die cutting the metal pop cans and embossing the flowers, the edges of the flowers are dulled and not as sharp.
Friday, March 17, 2017
Pecorino on Cedar
Sometimes when I'm scrapping a photo and going through my
stash looking for just the right paper and embellishments I find I don't have a
collection that compliments my photo(s).
That's when I start looking at my basic supplies. Believe it or not using only cardstock can
take your project a long way and/or to a new level.
I have a challenge up for the Creative Inspiration March Mini
Crop - create a layout, card, tag, ATC or altered project and only
use cardstock ... no patterned paper allowed.
You can use embellishments of your choice.I created this layout for my son's album. I only used Kraft cardstock and a variety of embellishments.
Be sure to check out the rest of the Design Team's Mini Crop challenges this month and be inspired.
Wednesday, March 15, 2017
Selfies
It's March 15th and time for
the Mid Month DT Reveal at Off The Rails Scrapbooking. This month along with the mood board
challenge you needed to add stitching to your project. I choose to use these sweet photos of
Gracelynn from when she was in the car with her mom's phone taking
selfies. I stitched the strips down
along the outer sides. I'm slowly put
surely using up some of my stash. I've had
some of these goodies hoarded, I mean saved for years ... it's about time I
used them.
Be sure to check out the Off The Rails Scrapbooking blog to see what the rest of the Design Team came up
with. You won't be disappointed!
March Mood Board
Monday, March 6, 2017
Just For Fun
Today is the Creative Inspiration Design Team Sketch Reveal.
Be sure to check out the forum to see what the rest of the design team
did with this fun sketch. Again, all of
the supplies I used to create this layout I found in my stash. Some of this "stuff" I have had for
years. My goal this year is to use up as
much of my stash as I can ... so I can buy new stash lol!
March Sketch
Saturday, March 4, 2017
Easter Card
Today I'm sharing a Design
Team card I created for the Just Imagine Crafts/Kreaxions Blog. I created this whimsical Easter card with
patterned paper scraps and materials I had in my stash. I also used the Kreaxions Circle Cutter, the
B Stencil, Positioning Parts 8cm (small) and punch #302.
I embossed the doily and then cut it in half before attaching it to the card which made a great focal point for the bunny.
Wednesday, March 1, 2017
Happy Easter
Today is the first of March
and that means the Design Team Reveal is up on the Just Imagine Crafts/Kreaxions Punches Blog. The theme
this month is Spring or Easter. I went
with Easter and created this cute card using the following Kreaxions products:
(I've provided links to the Kreaxions products I used.)
B Stencil
Punch #305
Positioning Parts 6.8 (small)
Punch #918 with the A insert
After I created the doily I embossed it.
I was a little leery about using white on white but I think the net effect is one of elegance.
Tuesday, February 14, 2017
Industrial Chic
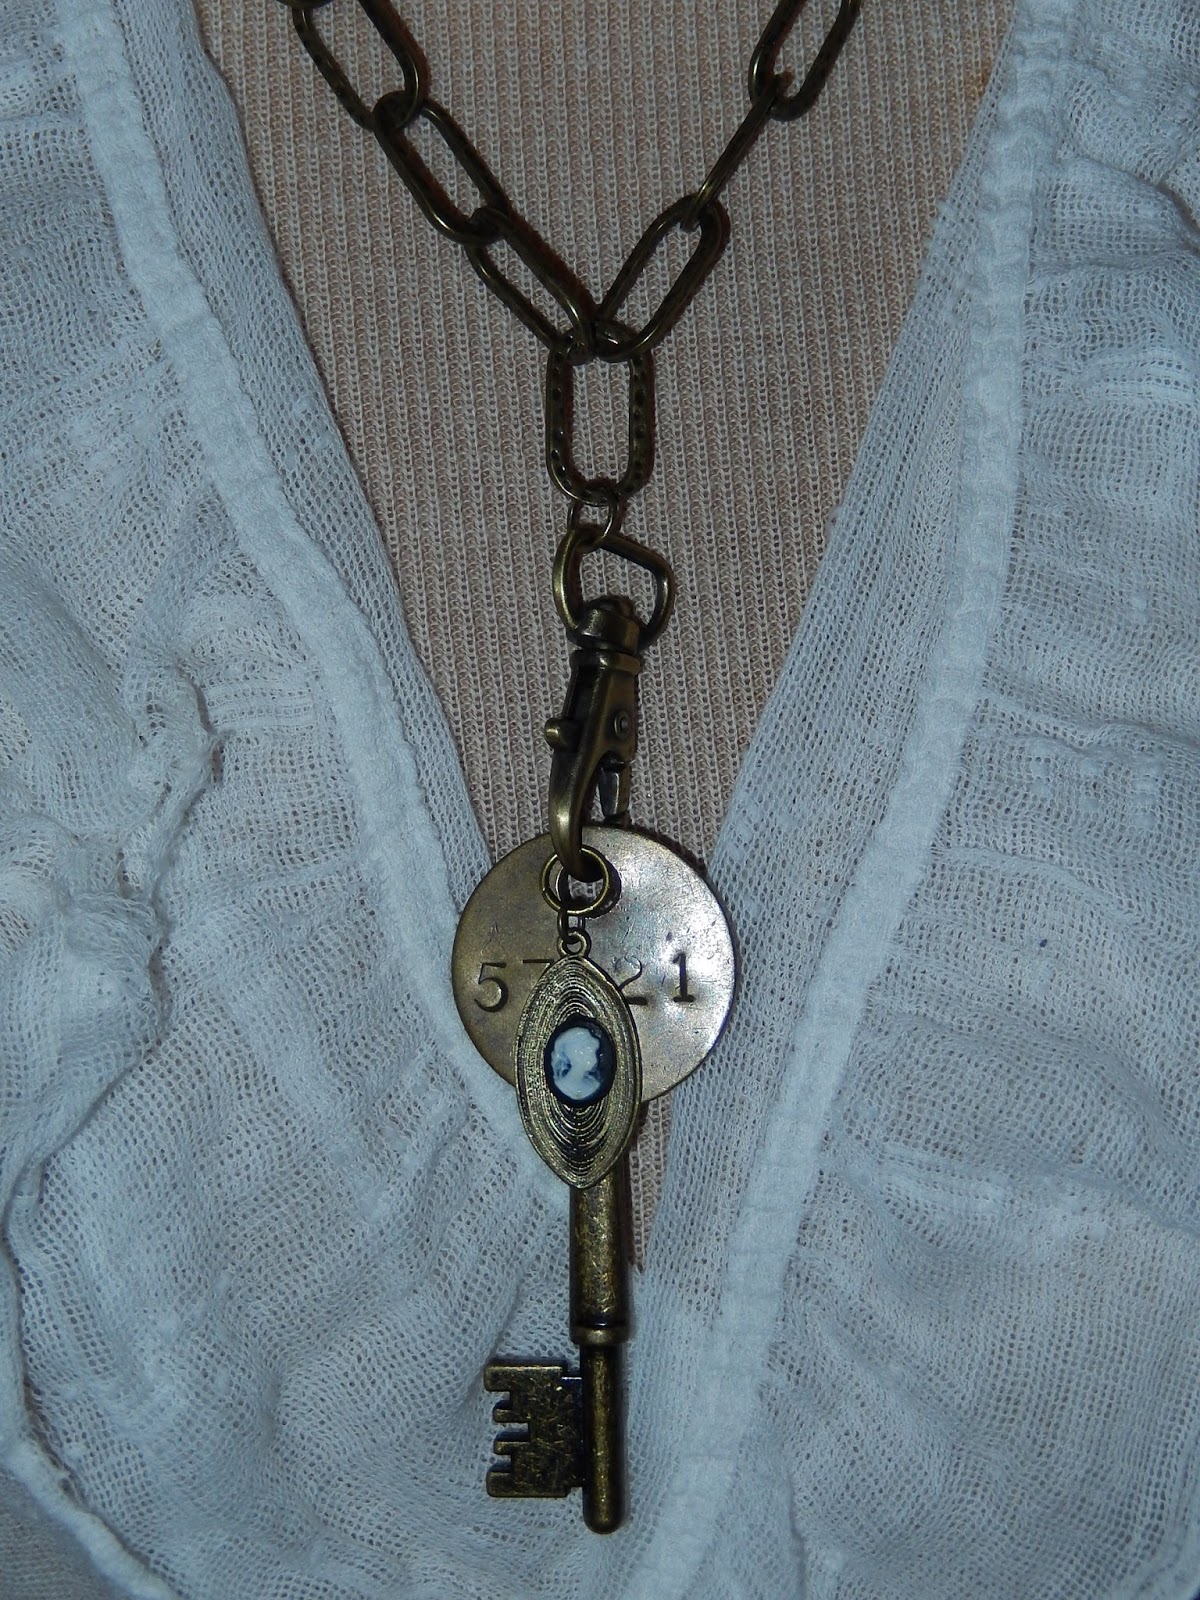
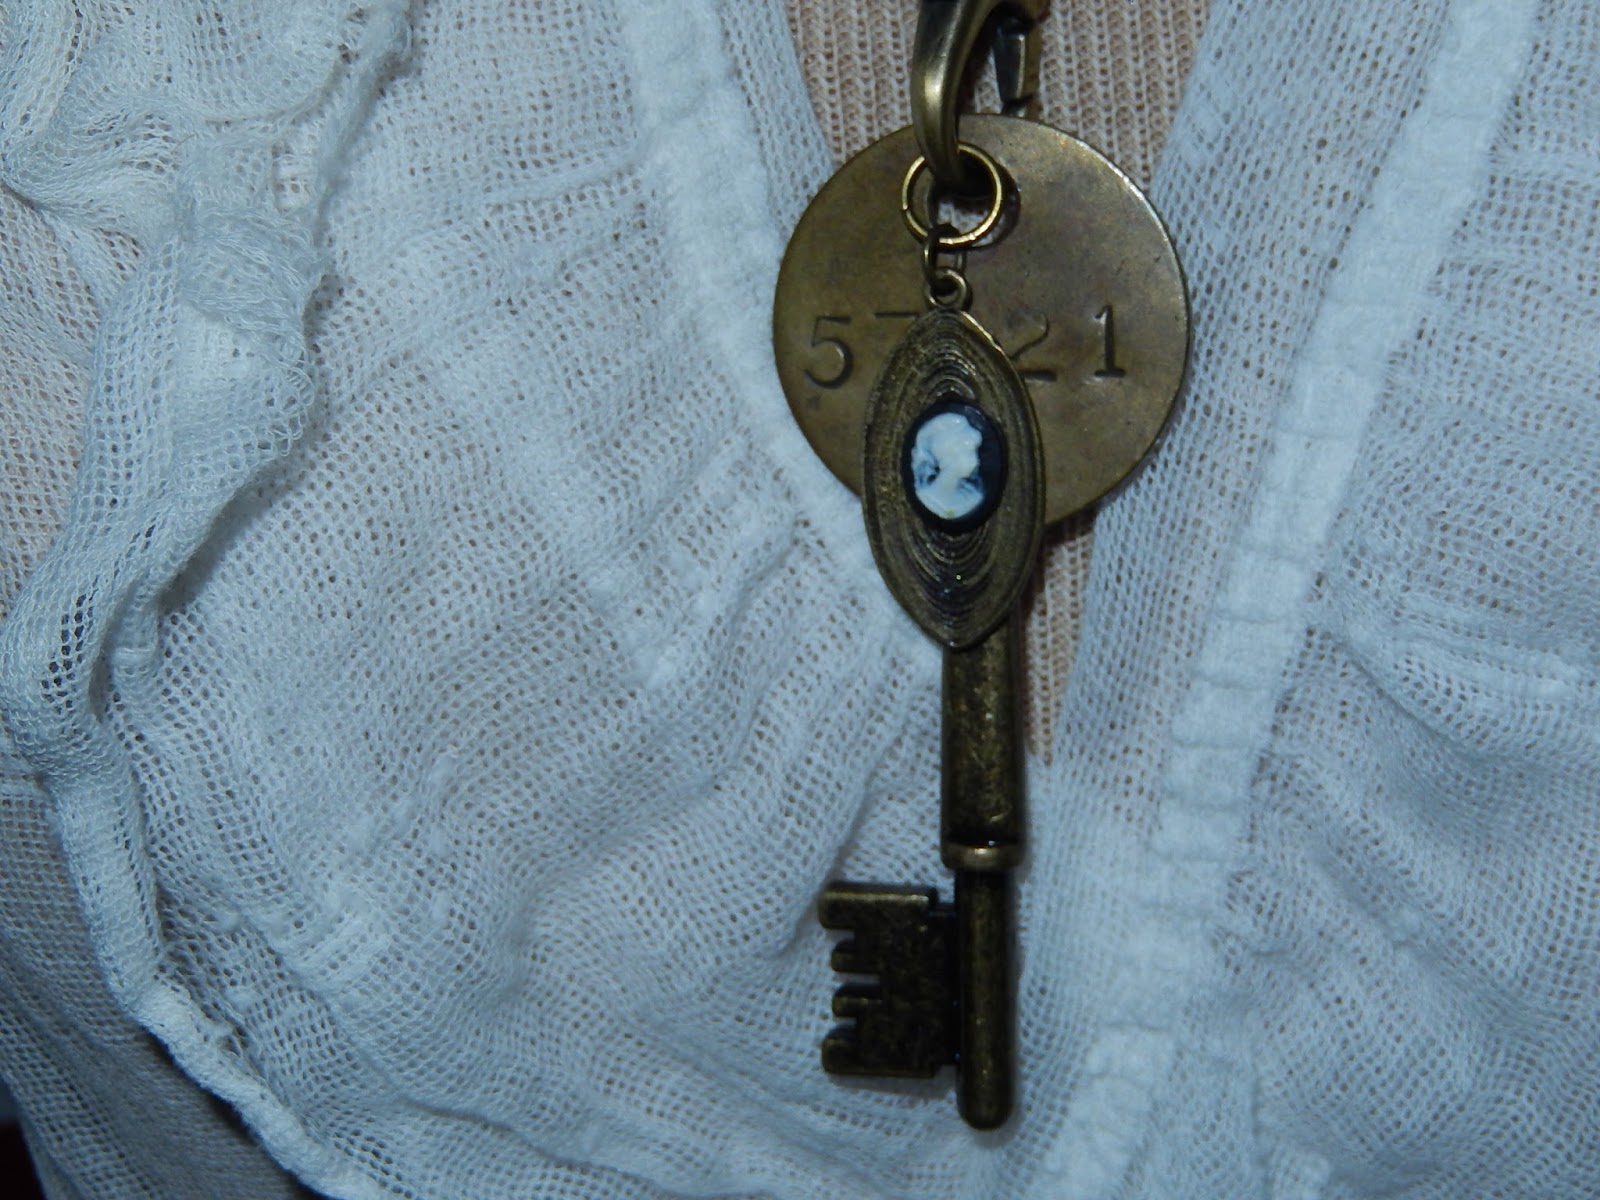
Altered Art Found Object Necklace = Industrial Chic
I have had a bag of old keys for a while now with the
intention
that someday I would alter them into something amazing.
Well there is a lot to be said for being retired because
that someday finally arrived.
Actually
the last couple of days. I had so much
fun altering the first
key into a necklace that I made 3 more. My newest altering favorites.
All the items that I used to make these necklaces I had
in my stash except the chain for the "Secret" necklace.
It feels good to be using up some of those hoarded supplies!
Sunday, February 5, 2017
Another altered bottle
I have been in an altering
mood lately. I forgot how much fun it
can be!
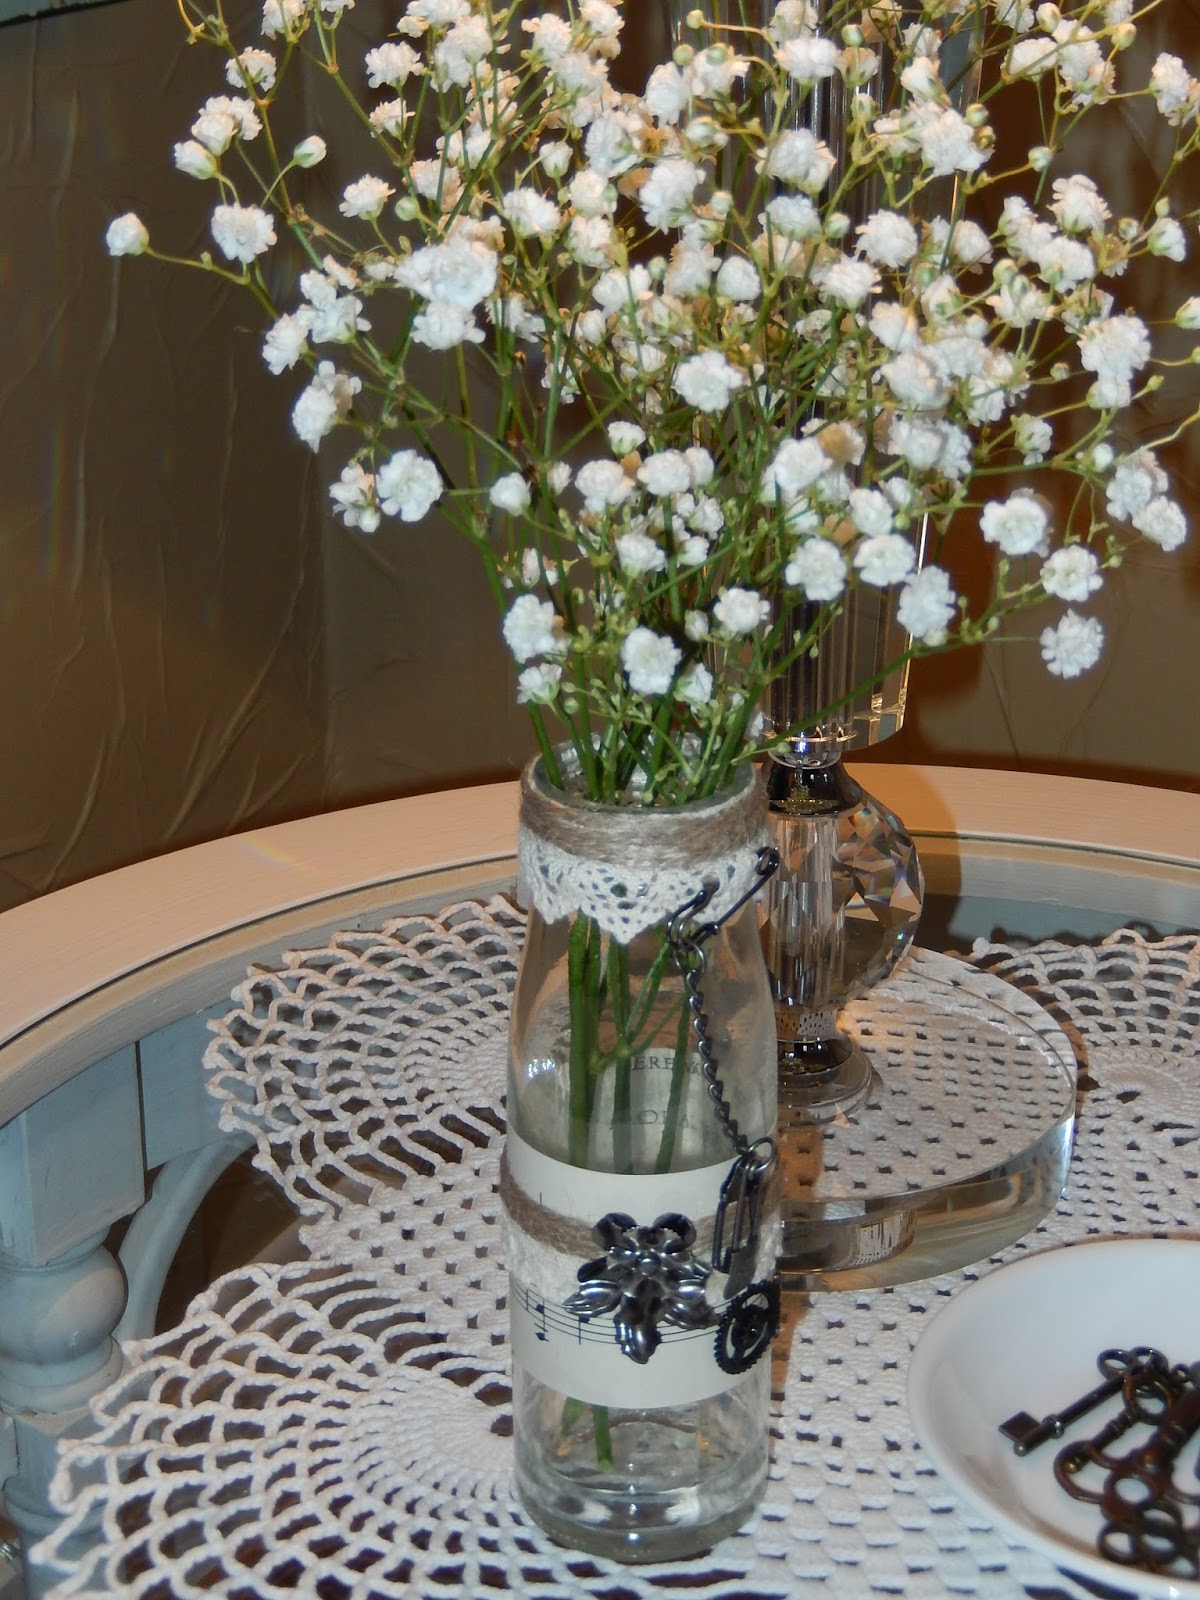
I altered this bottle using a
new technique (for me) using a glue and seal, crackle paint and distress stain. I should have done a tutorial - next time. I pulled some lace, seam binding and flowers from my stash to complete this project. It feels good to be using up that stash.
Saturday, February 4, 2017
Love is in the air - Two projects today
I absolutely love the look of
home decor projects that use oversized letters. There are So Many creative and
easy DIY letter decor ideas out there to inspire you! So with Valentines Day around the corner and
love in the air, I figured it was time to purchase a letter or 3 and get
crafting.
For this project I used
cardboard letters from JoAnn's that I used my 50% off coupons to purchase along
with a wreath that I got for 75% off.
Wreath
Acrylic Paint
Spray Mist
Scrapbooking Paper
Mod Podge
Glue Gun
Modeling Paste
Stencil
Foam Brushes
Distressing Tool
Embellishments
1) First I painted the sides
and backs of my letters with black acrylic paint and let them dry completely.
2) Next I covered the front
of the letters with Mod Podge and placed the scrapbooking paper wrong side down
on top of the letters and let it dry completely (over night).
3) I then used a X-acto knife
and cut the excess paper from around the letters.
4) I then distressed the
edges of the letters with a distressing tool.
5) I applied a thin layer of
Mod Podge on top of the letters and let it dry completely.
6) I used a stencil and
applied the Modeling Paste (which I had colored with acrylic paint). Let dry completely, I used a heat gun.
7) Next I applied some spray mist to the front
of the letters and let it dry completely.
8) I added my embellishments
and adhered with a glue gun.
I LOVE the way this project
turned out and I'm thinking I can come up with ideas for using oversized letters for every season/holiday.
My second project is a card
for a design team assignment on the Just Imagine Crafts/Kreaxions Punches Blog.
I created this card using my
Cricut and the center point feature to cut the heart in the middle of the
card. I used the Kreaxions 4 in 1 punch #905 with no insert to make the black border strip. The little hearts are the negative pieces
from the punch. You talk about getting
a bang for your buck ... I love that you can get so many different looks from
the same punch depending on the inserts and/or stencils you use with it.
Friday, February 3, 2017
Altered Bottle
I love altering things and inspiration
hit me when I was searching on Pinterest.
I altered this bottle which is a fancy way of saying - decorating a
bottle to serve some sort of purpose beyond it's intended use.
I took this Plain Jane Prima
flower bottle (which I have had for years) and transformed it into embellished
awesomeness by using an old music sheet, lace, twine and some metal accents from my
stash.
I have the Friday Inspiration
post in the forum at Creative Inspiration today. Check out the details here. My challenge is for you to alter something
... anything. Be careful, your
creativity might go rampant.
Subscribe to:
Posts (Atom)